on orders over $40
on orders over $40

Rubber stamps are incredibly versatile tools; they can be used to streamline business processes, step up your craft projects, or decorate various surfaces.
Because there are so many uses for stamps and everyone prefers different things it's extremely important to be able to customize your stamps. Every business, person, and project is different and requires different things.
We Make it easy to customize your own rubber stamps to meet your needs, whatever they might be!
Select the stamp type you want!
There are a few different choices for stamps such as: standard self inking, heavy duty self inking, pre-inked, wooden, and daters.
Standard self inking stamp are stamps that ink themselves in a plastic case. These are reliable and easy to use.
Heavy duty self ink stamps are just like standard self inking stamp but in a metal case. These are made to last a very long time, or to be used all the time.
Pre-inked stamps are stamps with ink inside the case and make extremely high quality impressions.
Wooden stamps are rubber dies attached to a wooden block. These do not come with ink and can be used with a stamp pad, clay, paint, wax, etc.
Select your options!
Some stamps have options that you can select before customizing them. These options can change the price but don't change the customization process.
An example of these options would be whether or not you want to add a wooden handle to your wooden stamps.
Customize!
After you click the "Customize" button the customize window will pop-up giving you the ability to customize your stamps.
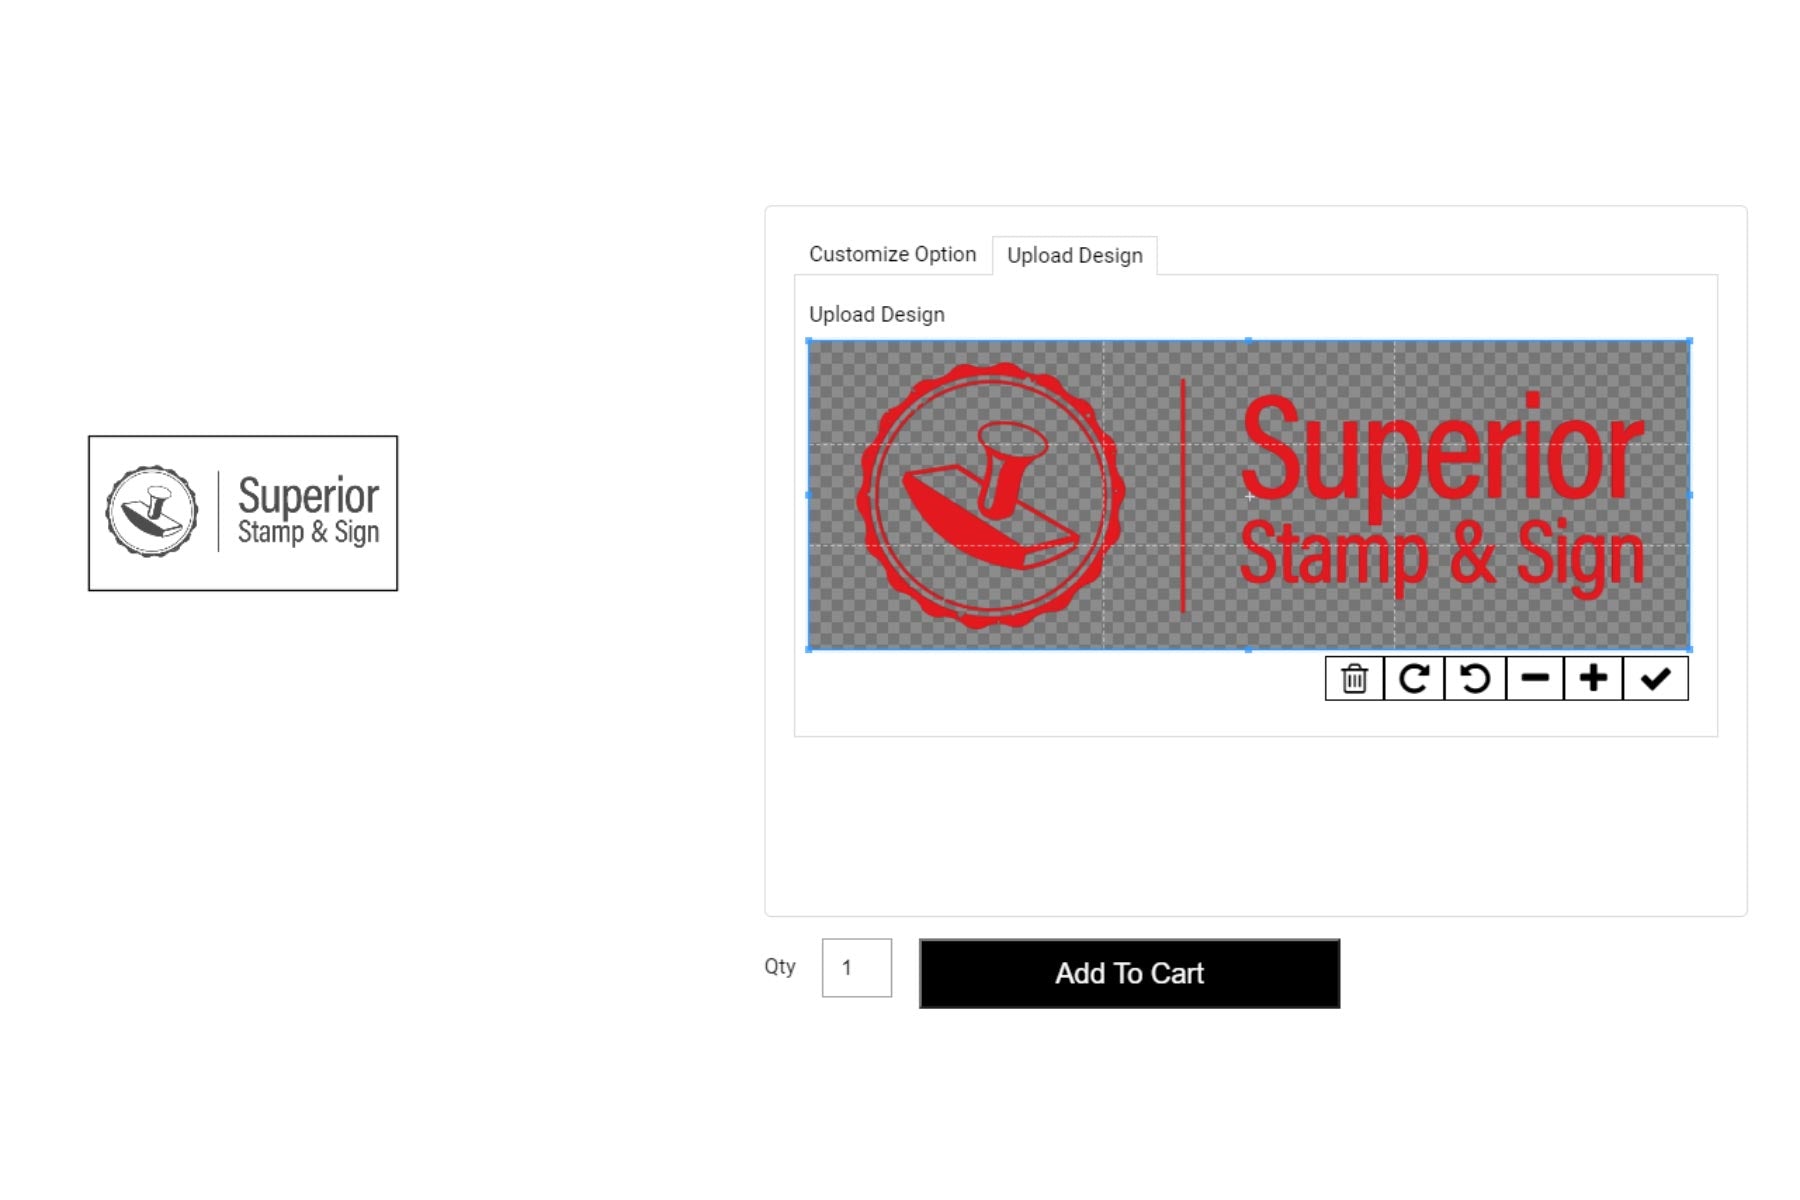
The first option you'll have to choose from is whether you want to do a text only stamp or a custom design stamp.
Text only stamps give you the ability to write in your own custom text. You can add multiple lines text and change your alignment, font, ink color, and size all inside the editor.
Custom design stamps let you upload a custom logo/design. This gives you the freedom to create your stamp from scratch, or make it in your favorite program like photoshop or illustrator. Once your file have been uploaded you can change the size and ink color inside the editor.
Submit your order!
Once your done customizing your stamp, just hit add to cart and your custom design will be saved!
You can then add any other products you might need, like stamp pads or refill ink, and then you're ready to check out.
If you're local to Southern Oregon you'll have the option for free order pick up at our facility.
Stamps are typically completed in the same business day and then shipped out that day or next day depending on when they are finished!
So if you're ready to start designing your own custom stamps, you can start right now!
Leave a comment